由于我是新机器(Debian10.2), 需要安装下 JDK(1.8), 需要下面地址下载
链接:https://pan.baidu.com/s/1uAhva9EXmVZ2sdc4uwx2eA 提取码:ufuu
JDK 安装
# 下载 JDK 上传到服务器

# 进入目录
$ cd /usr/

# 解压
$ tar -zxvf jdk-8u161-linux-x64.tar.gz

# 重命名
$ mv jdk1.8.0_161/ jdk1.8

# 配置环境变量

# 编辑/etc/profile文件并加入配置, 保存退出
$ vi /etc/profile

export JAVA_HOME=/usr/jdk1.8
export PATH=$JAVA_HOME/bin:$PATH
export CLASSPATH=.:$JAVA_HOME/lib/dt.jar:$JAVA_HOME/lib/tools.jar

# 重新加载配置
$ source /etc/profile

# 最后可验证 Java 版本
$ java -versiondocker 安装 Nexus
遇到最多的问题了,就是没有给予宿主机文件夹权限,重来一次就好 新建文件夹并且给予权限:
chmod 777 /home/nexus/nexus-data安装等待之后可以打开查看:http://ip:8081
# 使用参数 -v 建立宿主机与 Docker 目录映射关系, /nexus-data:docker里存nexus数据目录,所以将数据目录存放到宿主机/home/nexus-data
$ docker run -d --restart=always --net=host -p 8081:8081 -p 5000:5000 --name nexus -v /home/nexus/nexus-data:/nexus-data sonatype/nexus3

# 查看日志
$ docker logs nexus -f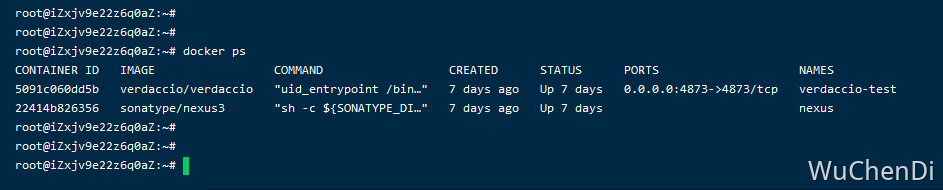
登录 Nexus
内部有一个初始密码文件
admin.password,这个密码将用来进行第一次登陆的密码,用户名是admin。 密码:cat /home/nexus/nexus-data/admin.password
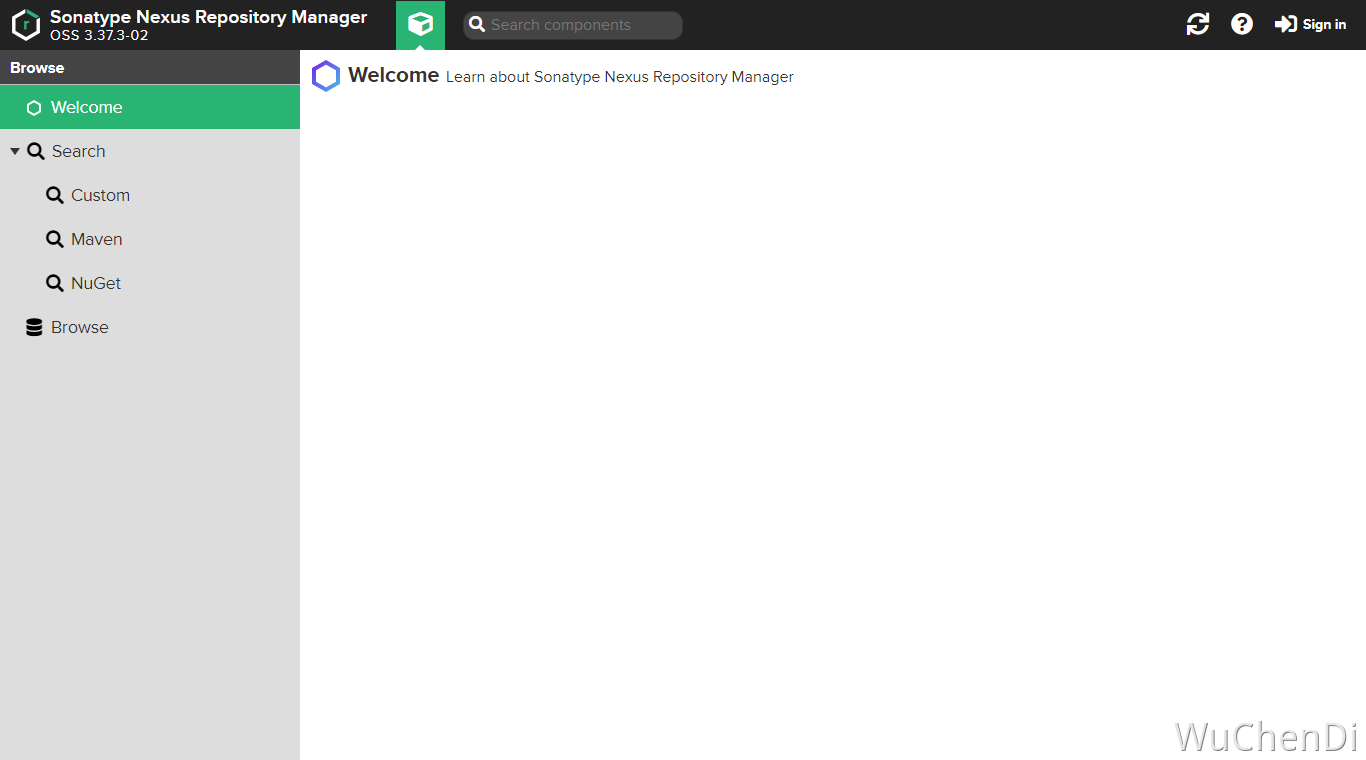
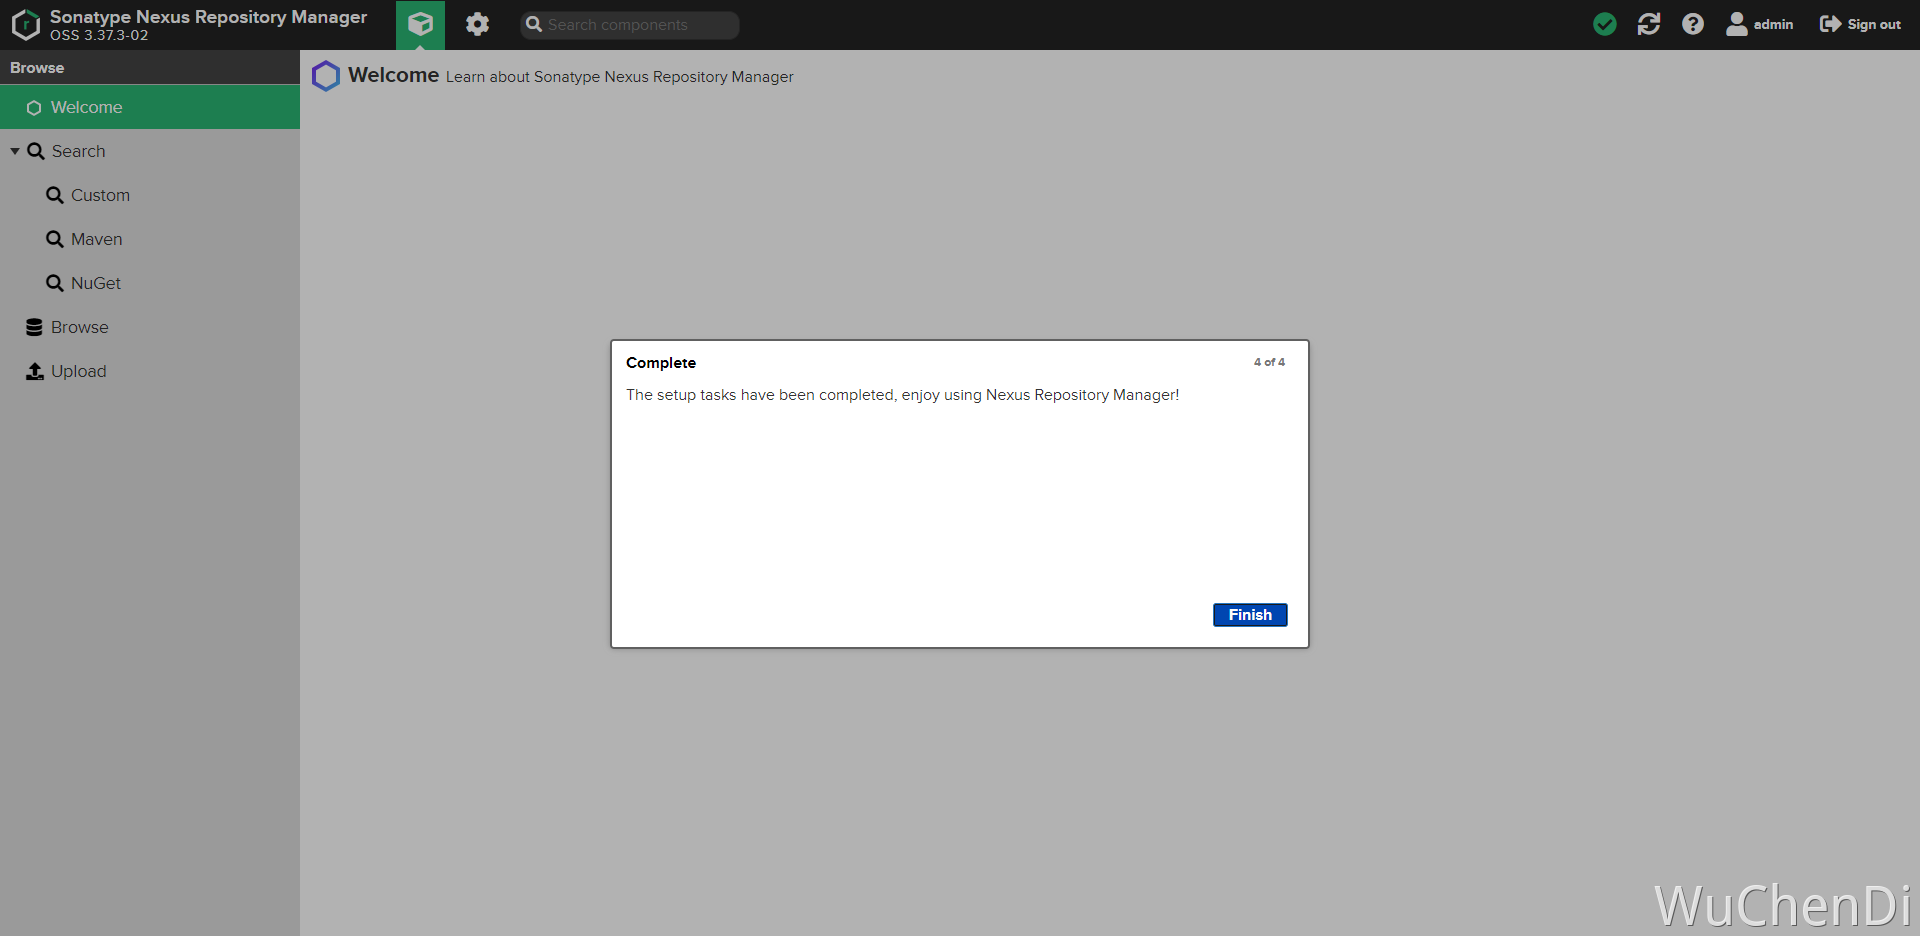
登录之后配置Setup
Setup1

Setup2
重新设置admin密码
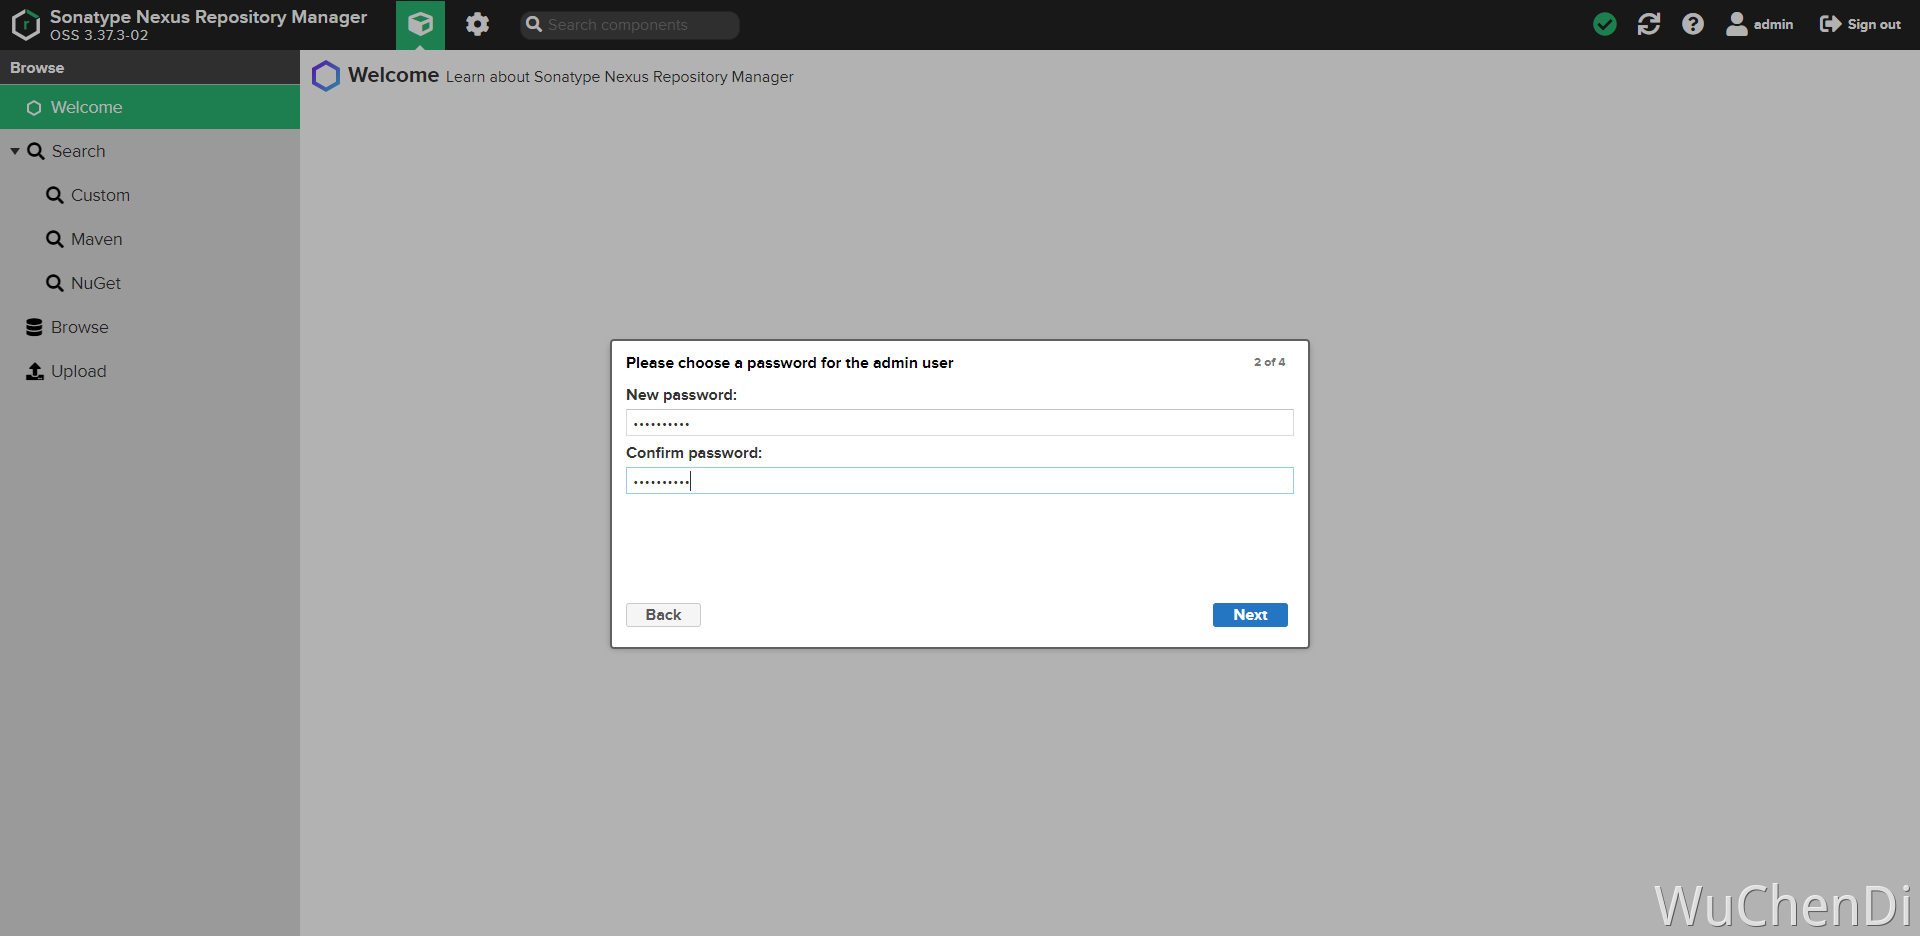
Setup3
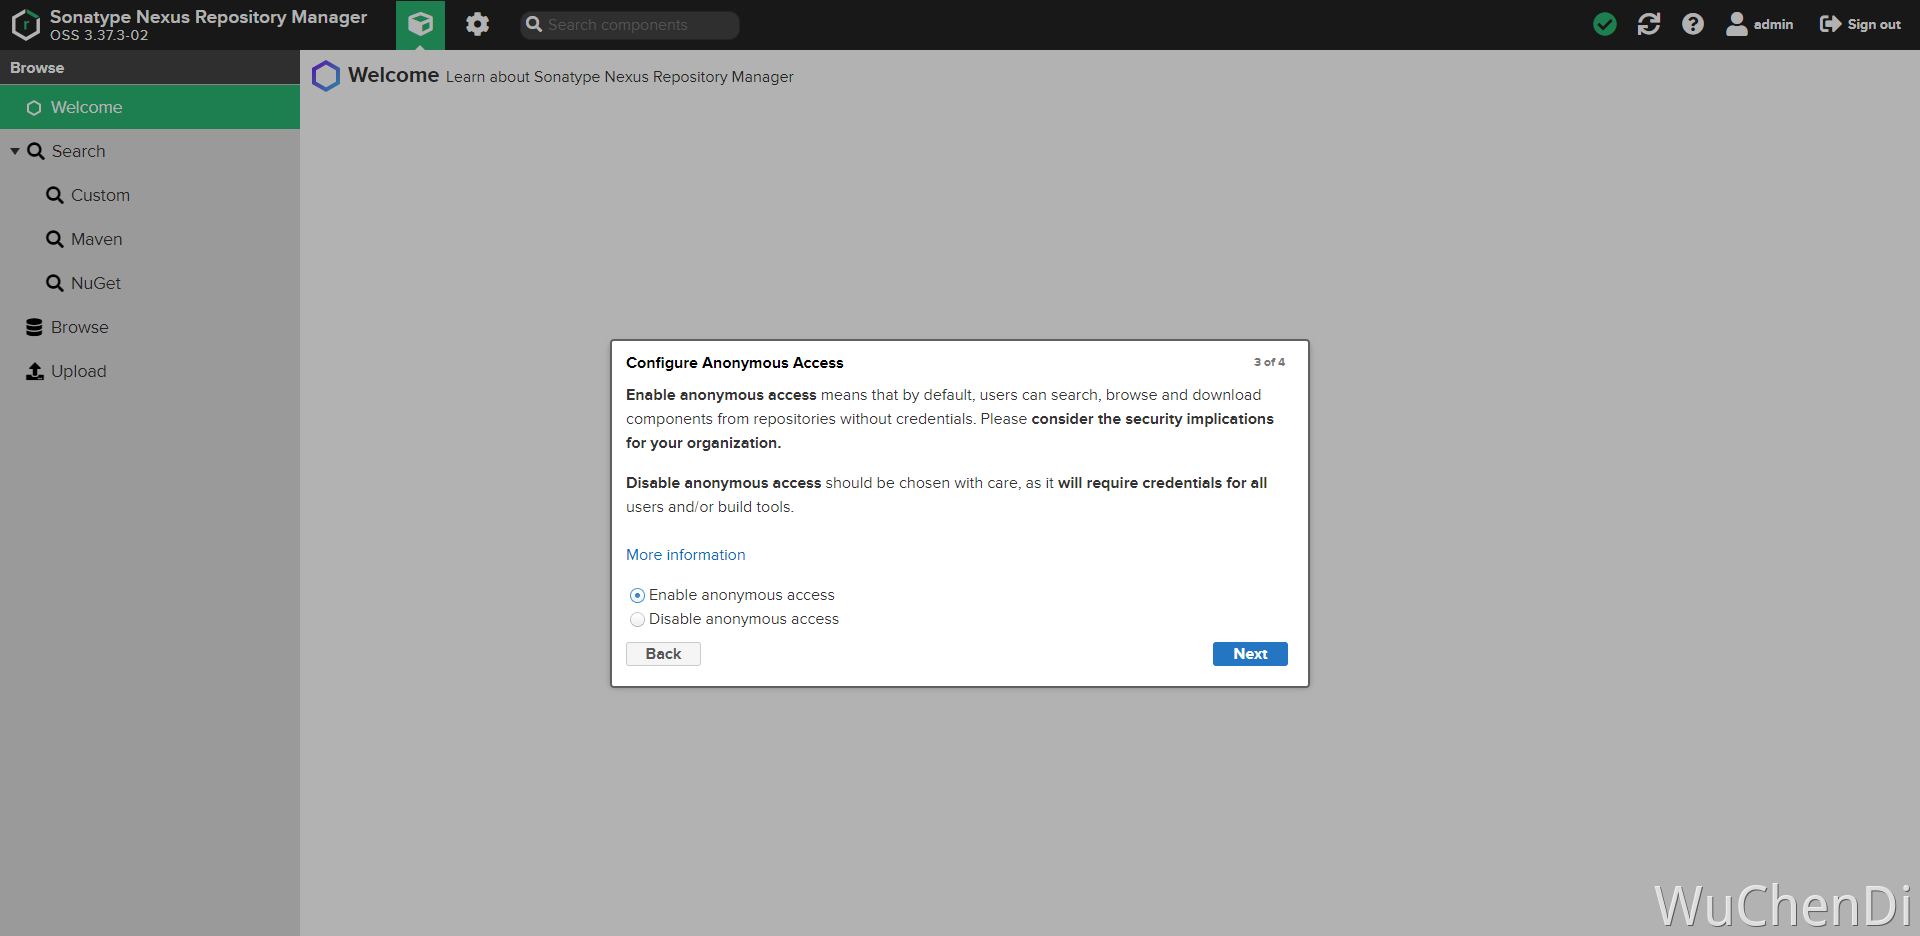
Setup4
创建仓库
仓库类型
- hosted(**私有|宿主 **仓库):用于发布个人开发的npm组件
- proxy(代理仓库):从配置的远程仓库中下载包到该仓库,下次用户访问时会优先检查本仓库,如果有对应的包则使用本仓库中的包,不会再从远程仓库下载(可以代理npm和淘宝镜像)。
- group(组合仓库):仓库组,把多个仓库聚合起来,这样对用户只需要提供一个地址即可访问组中所有仓库(集合了hosted和proxy)
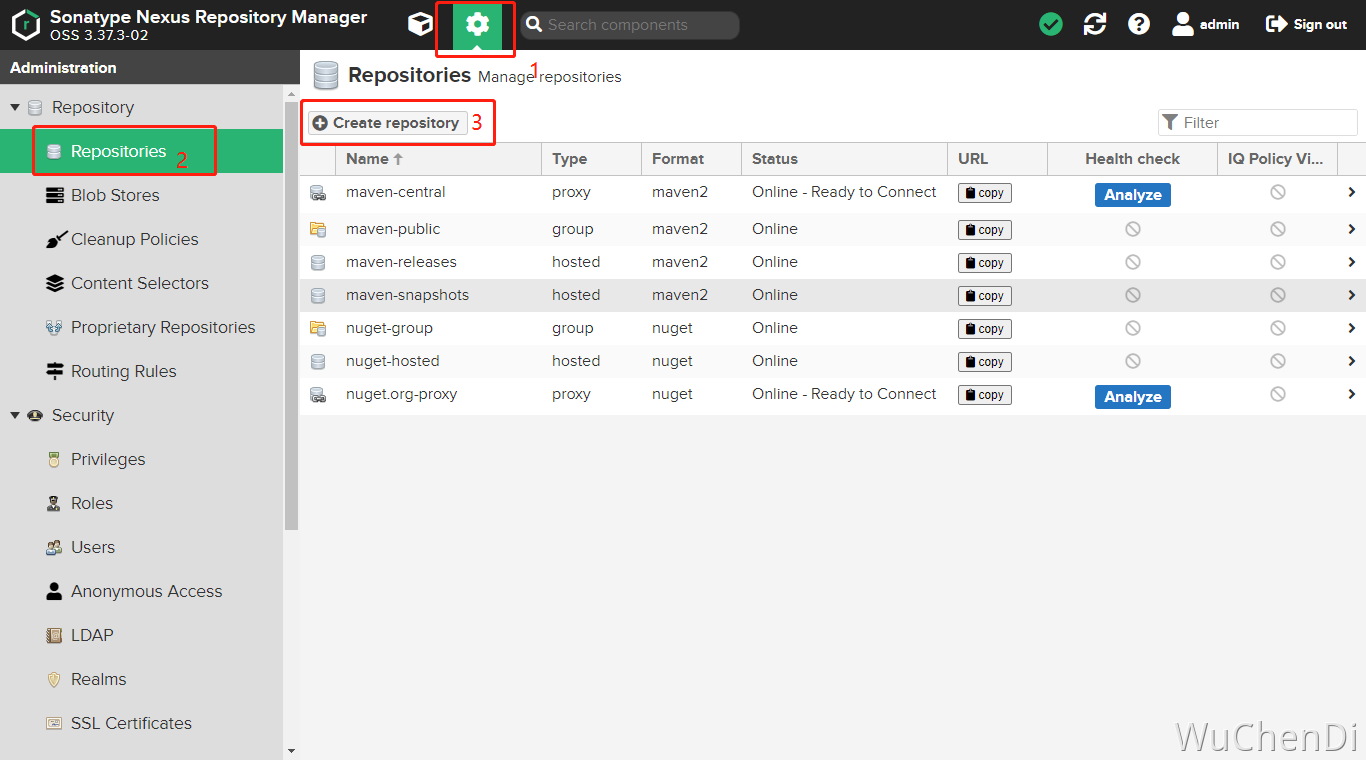
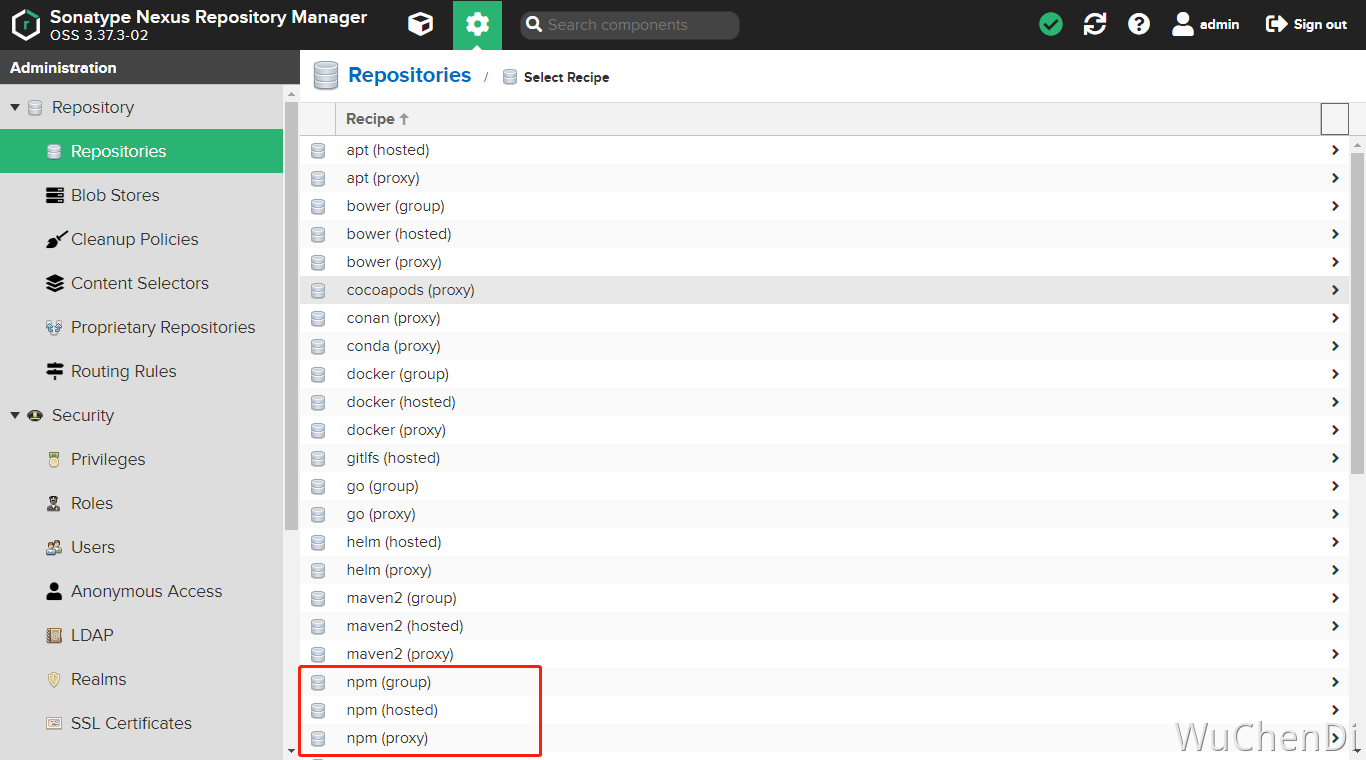
新建仓库
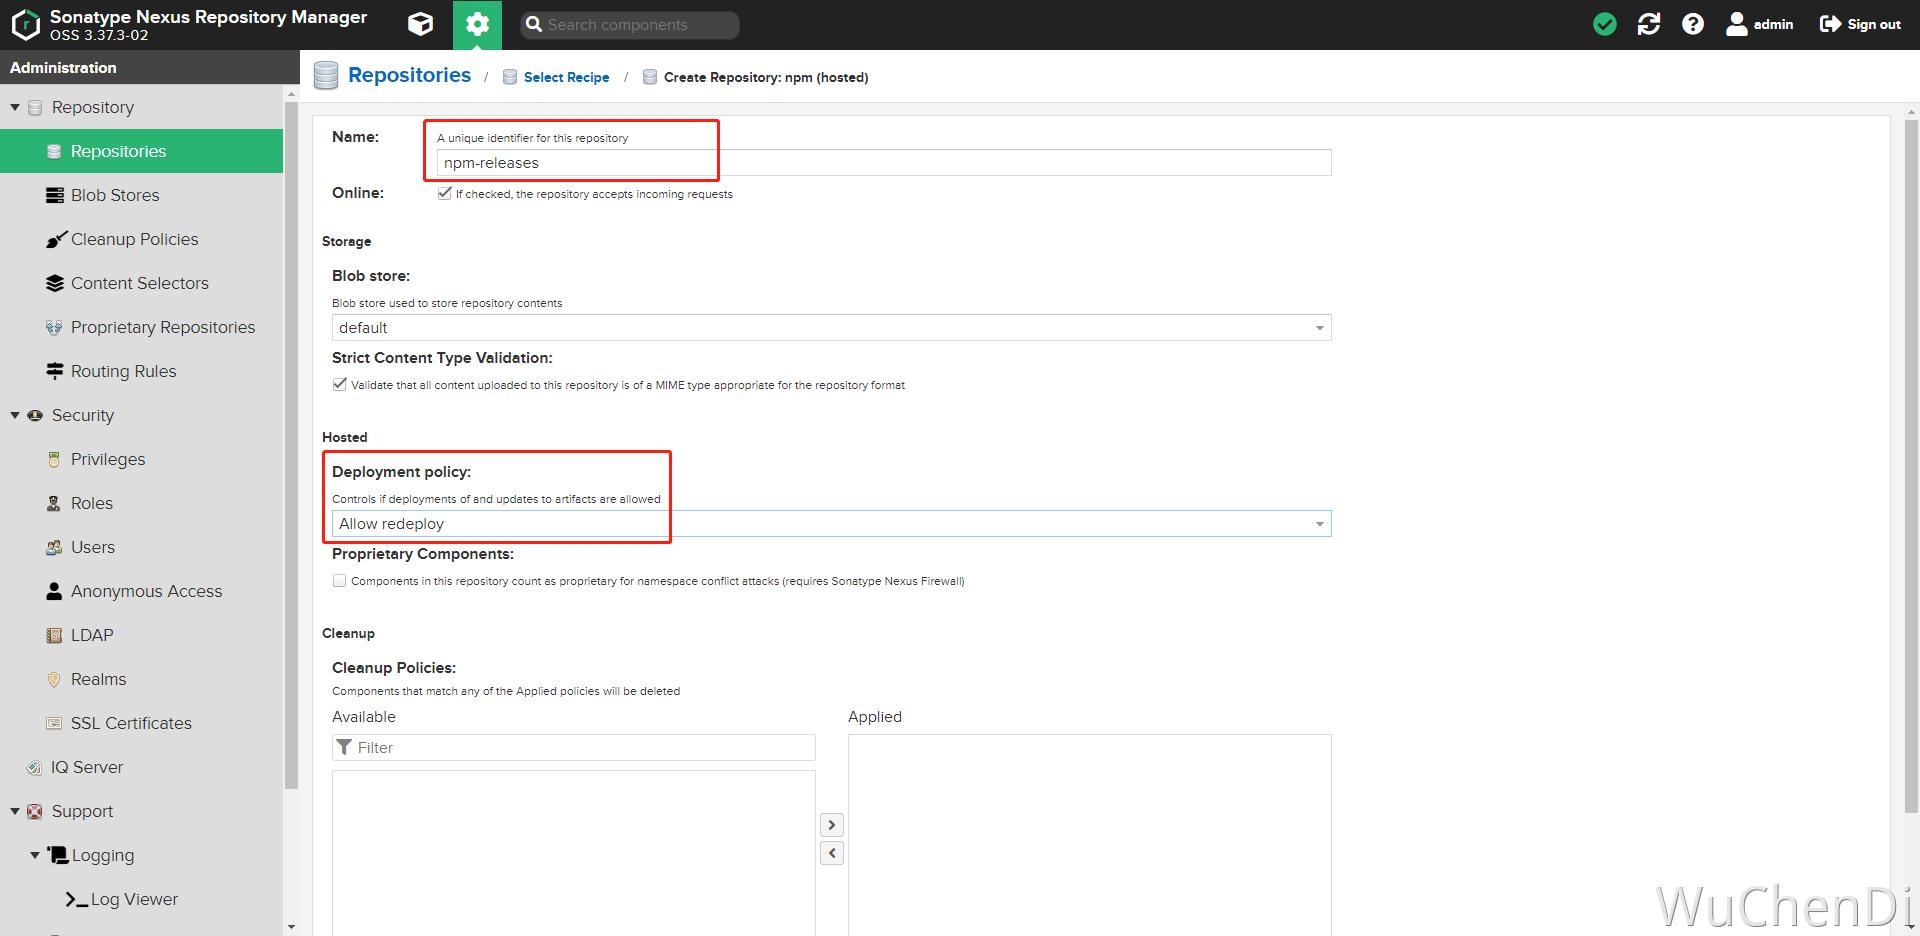
npm(hosted) -> npm-releases
这里的
Allow redeploy是更新包的意思,其实不建议开启,重复包会覆盖
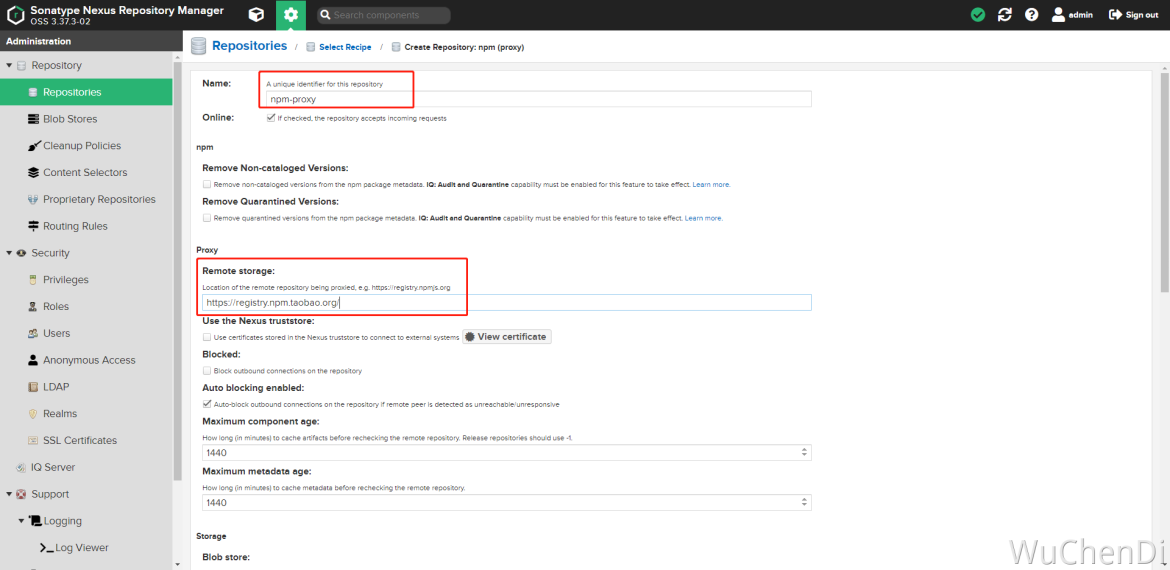
npm(proxy) -> npm-proxy
npm(group) -> npm-public
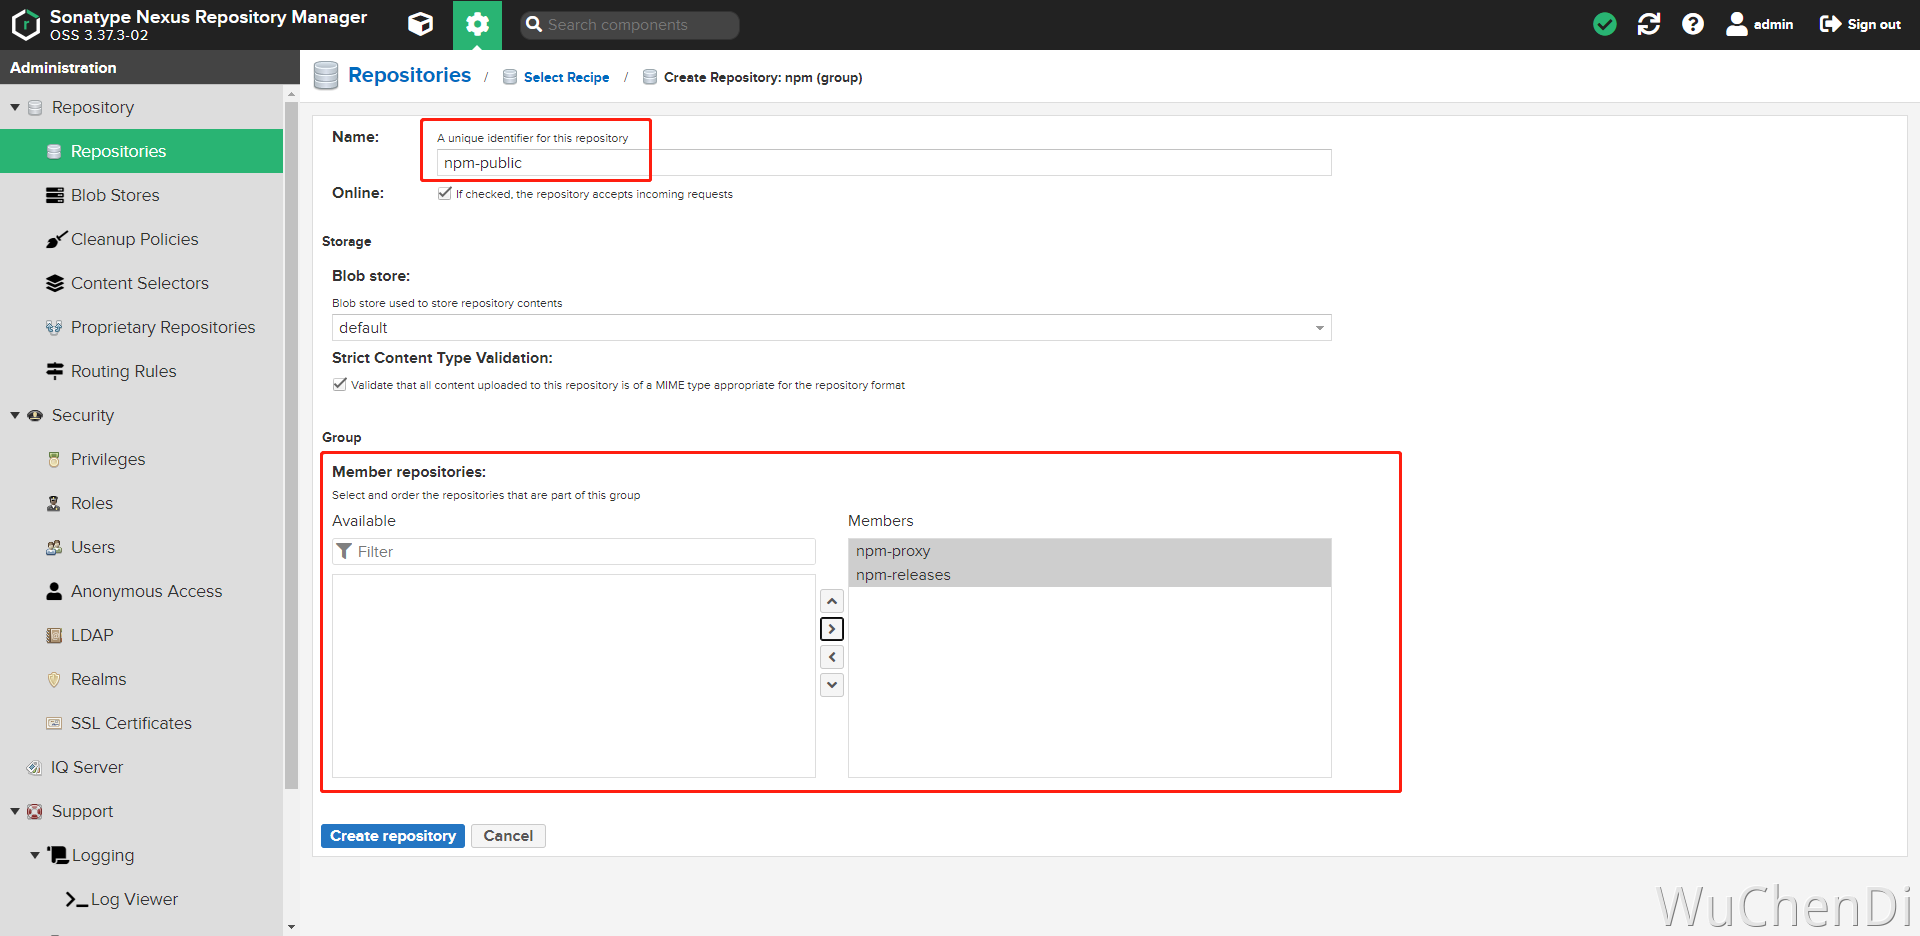
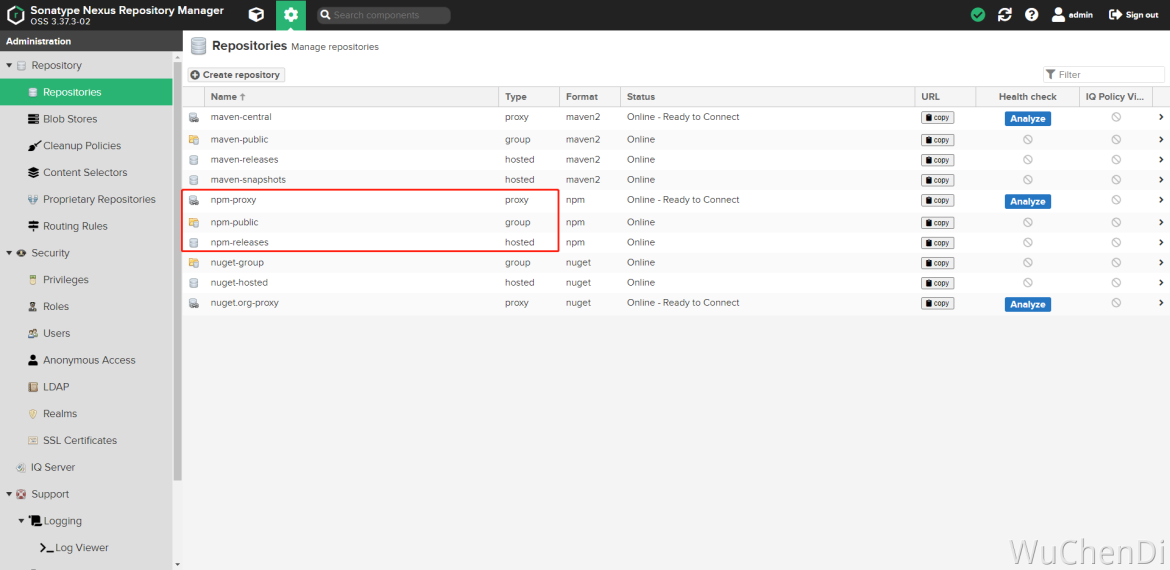
创建完成三个仓库
用户与权限
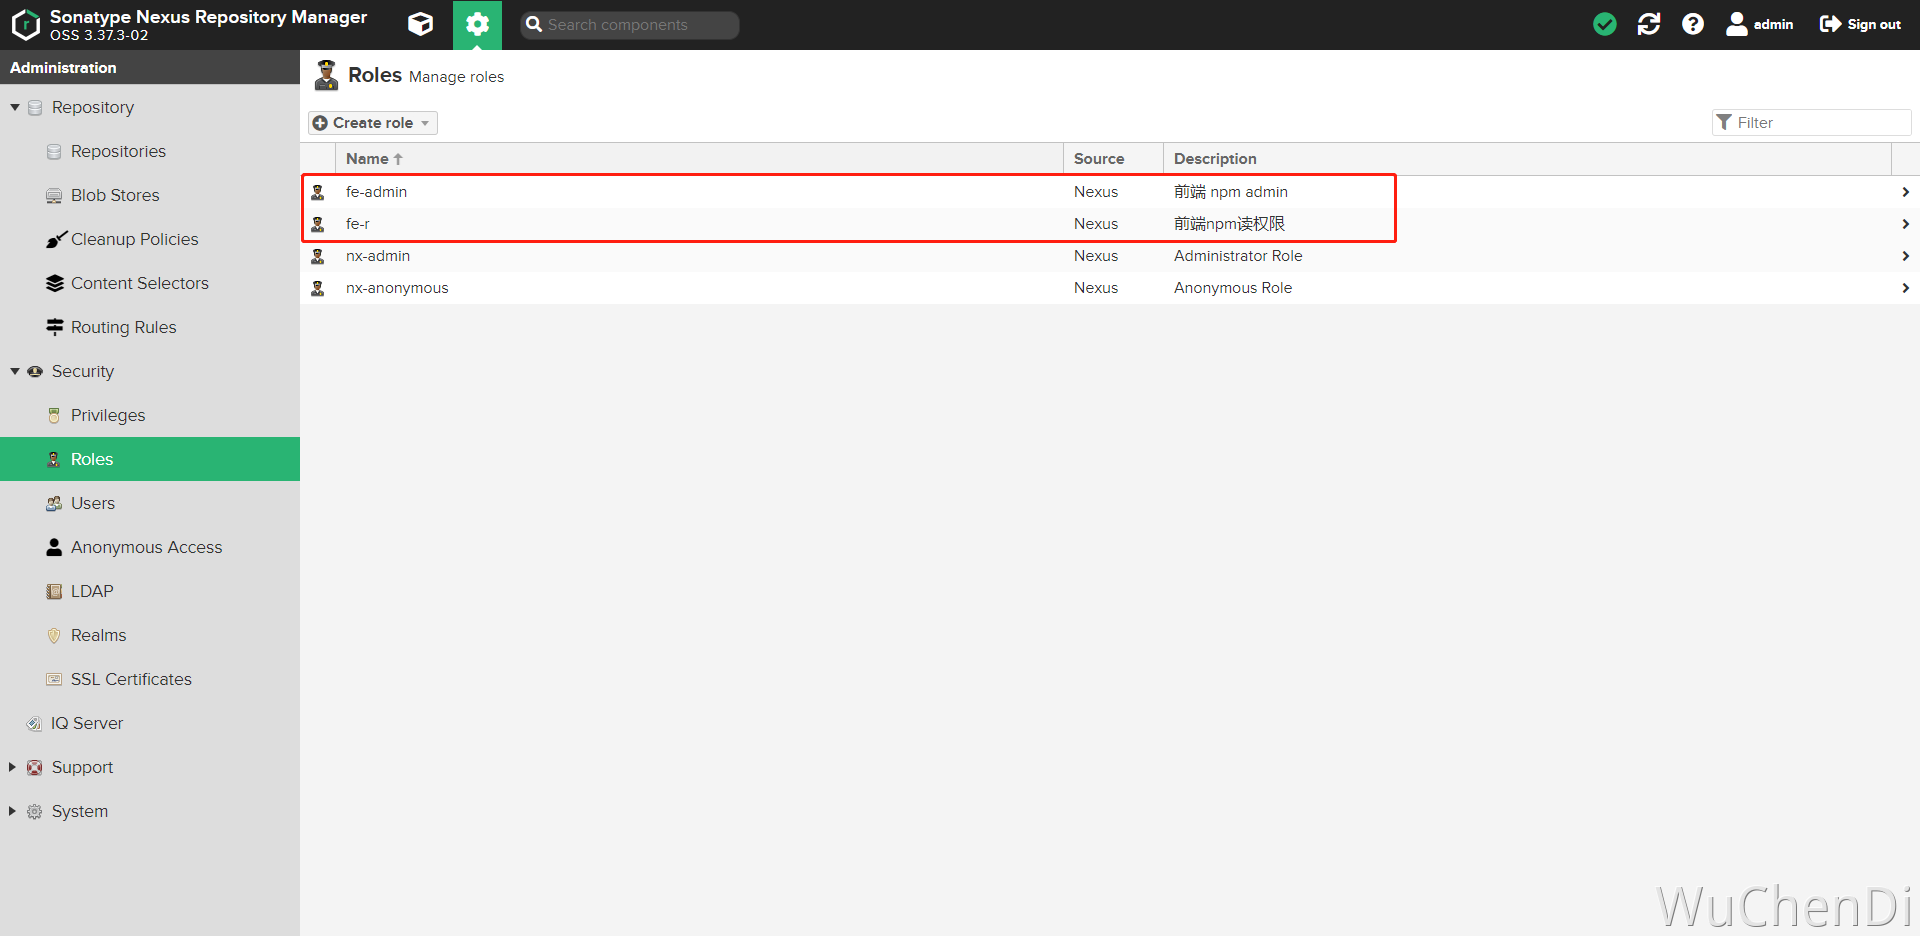
如果没有什么要求,可以使用admin账号来发版,但是不推荐这样做。 目前我的做法:新建两个角色与用户 账号用途:一个提供获取代码(只读),一个用于发布版本(admin)
权限
用户

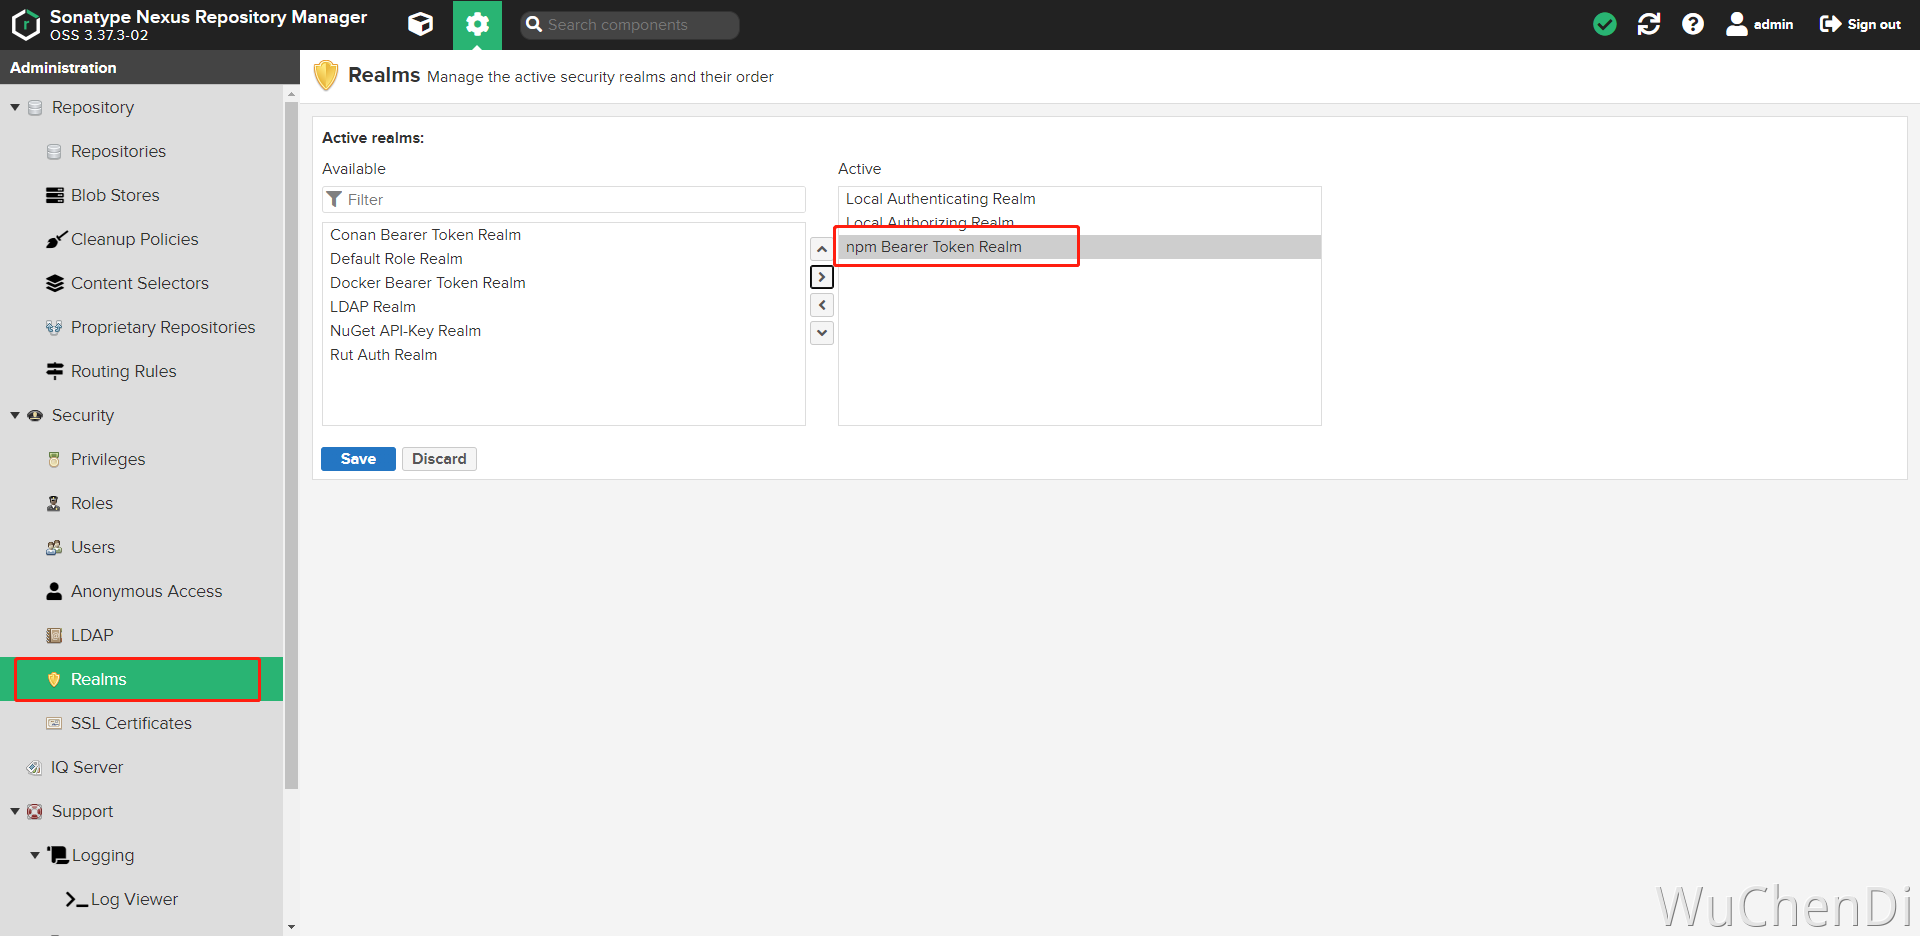
设置 npm 发布权限
这一步不设置,是不能发包的
发布私服 npm 测试
用 element-ui 组件库来进行演示
git clone https://github.com/ElemeFE/element.git登录 Nexus
输入admin
npm login --registry=http://ip:8081/repository/npm-releases/查看登录用户
npm whoami --registry=http://ip:8081/repository/npm-releases/发布到 npm 私服
npm publish --registry=http://ip:8081/repository/npm-releases/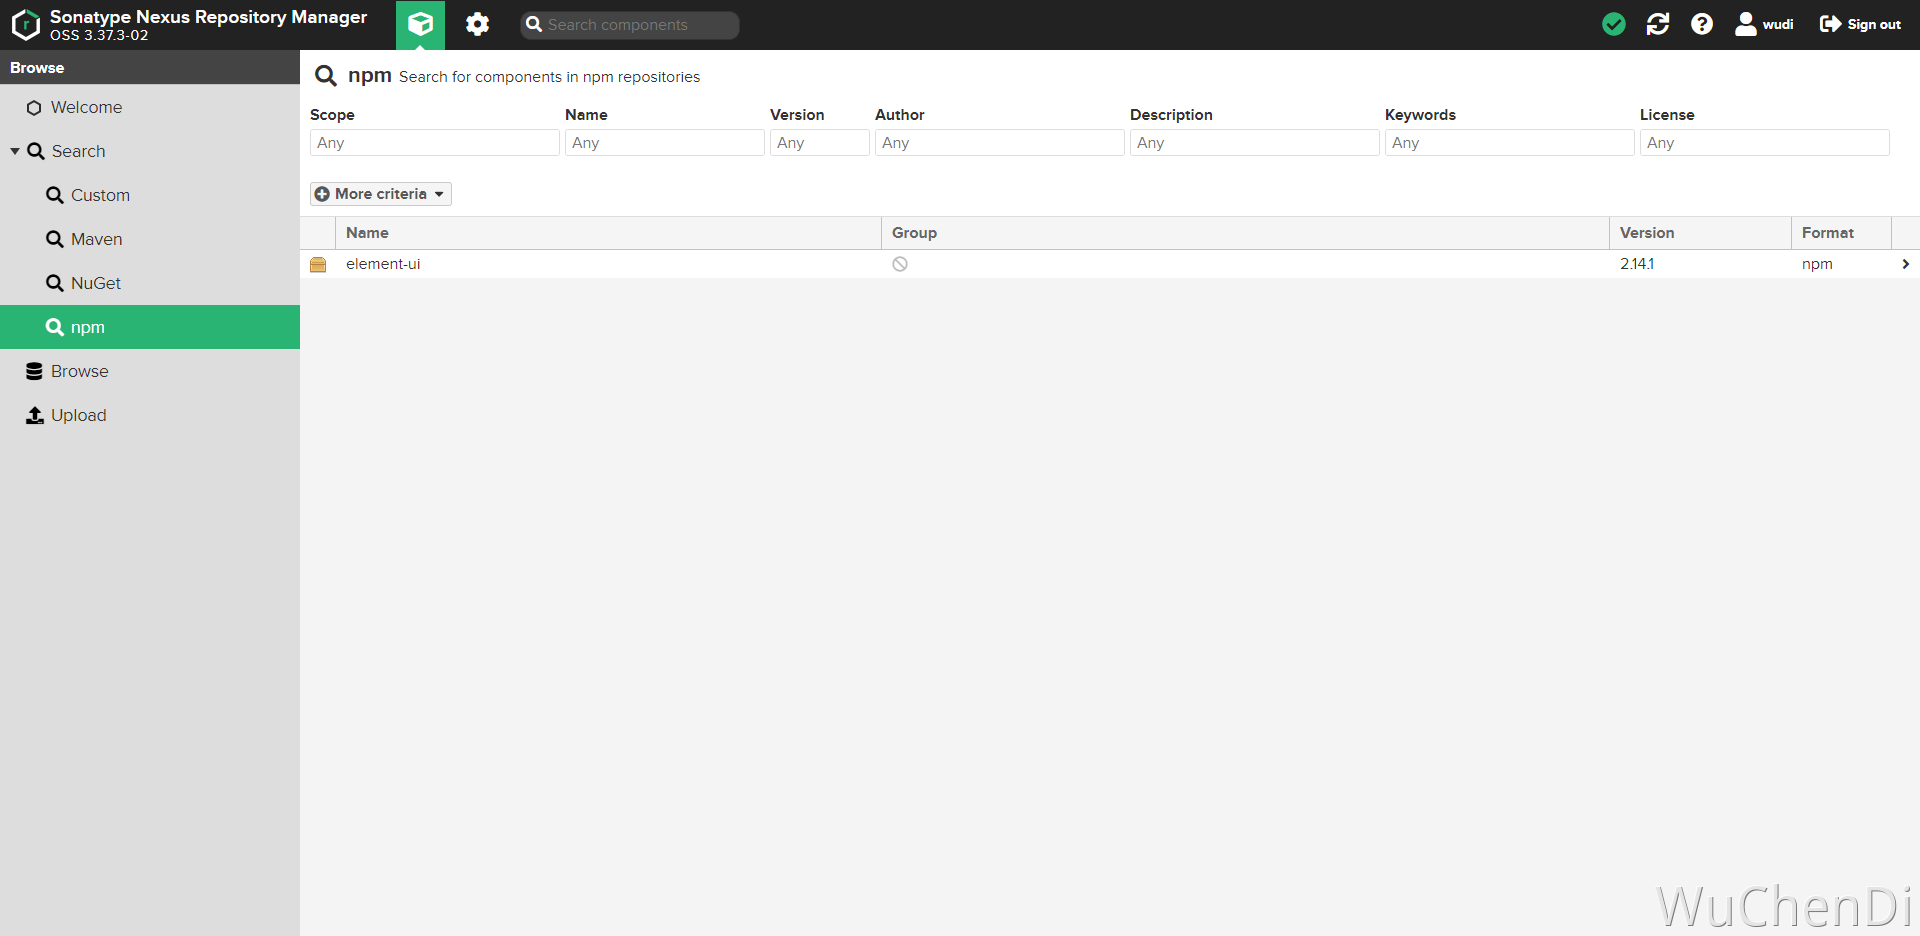
推荐
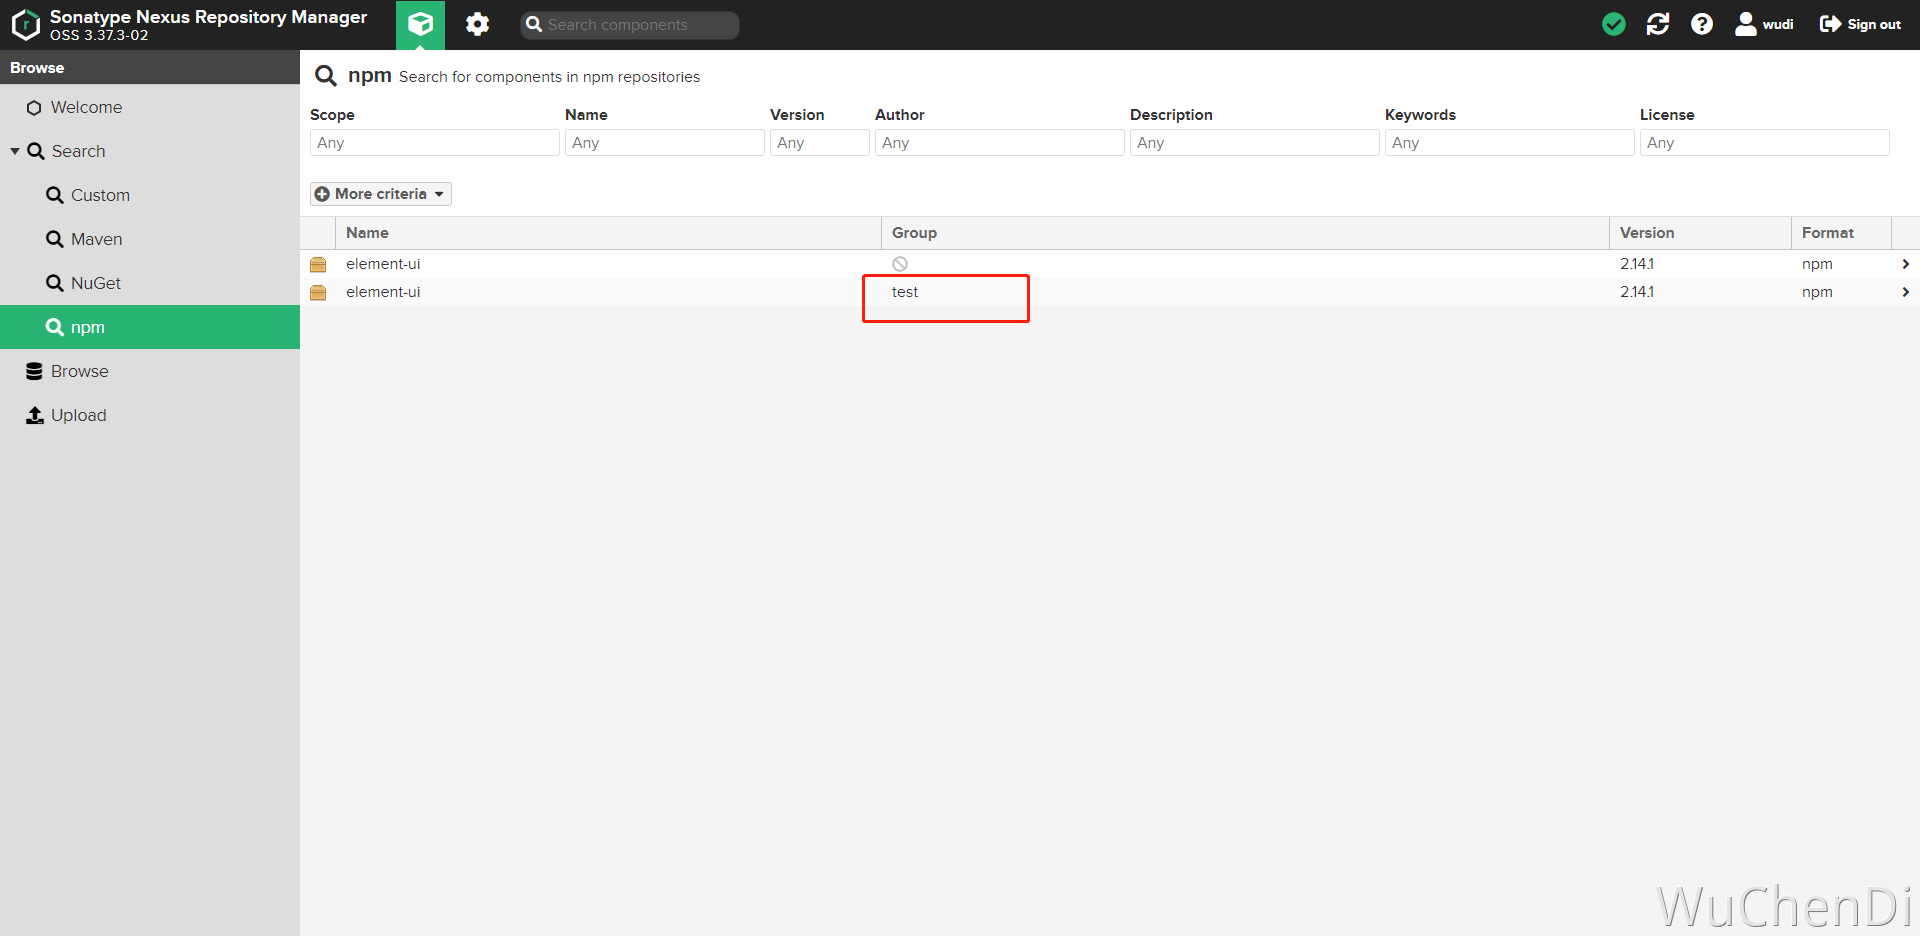
其实我不推荐吧全部的包都放到 Nexus 上,私有部署的放到就可以, 可以在发布更改下项目name,添加group用来代理, 以elementUI演示
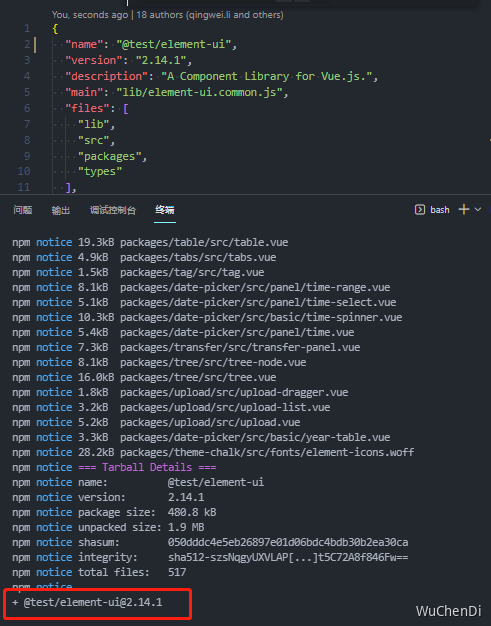
项目配置 .npmrc 文件
这里的
_auth是base64加密的:admin:adminadmin(用户名:密码) 单个包的代理试了不成功,所以才需要加**group**,如果有知道的,可以交流交流
@test:registry=http://ip:8081/repository/npm-group/
_auth=YWRtaW46YWRtaW5hZG1pbg==swagger api
官方文档: https://help.sonatype.com/repomanager3/integrations/rest-and-integration-api
http://49.233.19.168:8081/swagger-ui/http://49.233.19.168:8081/service/rest/swagger.json
举个例子,获取 @wshoto/lowcode-cli 最新版本(需要添加cookie才可请求) http://49.233.19.168:8081/service/rest/v1/search?sort=version&name=lowcode-cli&group=wshoto
tips
问题1
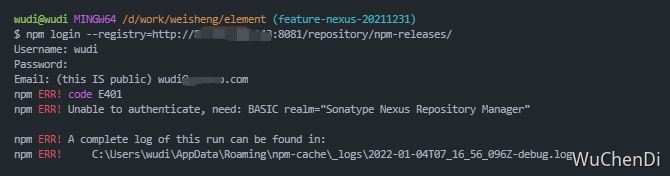
如果出现这个问题,可以往下面方向查询
- 可能用户名与密码错误
- 如果是注册,可能用户名已存在
- 清缓存
npm cache clear --force - 设置权限问题
- 有可能与本地配置有关,找到
.npmrc删除文件不相关的缓存即可